This is part three of a series. The previous part is Projections on Stage Part II: Making Good Use of Ordinary Projectors
Anything that reflects light – even just a little bit – can be a screen. The bigger question is what makes a good screen. And before we can answer that, we should ask a more specific question: for a specific use, what would be the most appropriate screen?
Some basic variations on screen types include:
- Front projection vs. rear projection
- White screens vs. black screens vs. gray
- Soft vs. hard
- Shiny vs. flat
- Wide dispersal vs. narrow dispersal
Flat white plywood screens
By Paul Mroczka, John R. Briggs, and Judith Townsend
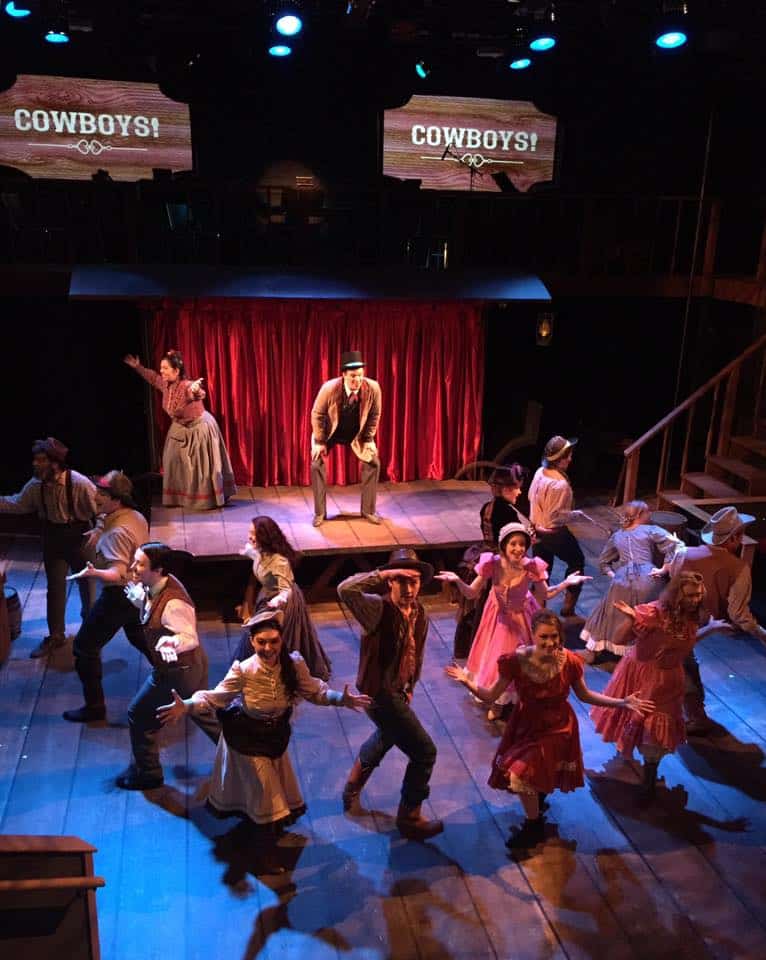
The simplest screen in the theatre might be just plywood, painted flat white. This is an excellent screen. I have used this one many times, and will do so again. This picture from the musical Cowboys! shows two of the four screens that were on the walls of the theatre. Each was a plain bit of plywood shaped like an old saloon sign, but was painted with flat-white interior latex. Each had one projector focused on it, so that scene-to-scene, it displayed whatever information we wanted – but almost always as saloon-signs. This included animated text for the musical sing-along number, Whiskey, oh, Whiskey.
Within the media playback software, I embedded a frame that kept whatever images we displayed from spilling outside of the saloon signs. The frame was a transparent PNG file that looked a lot like this image.
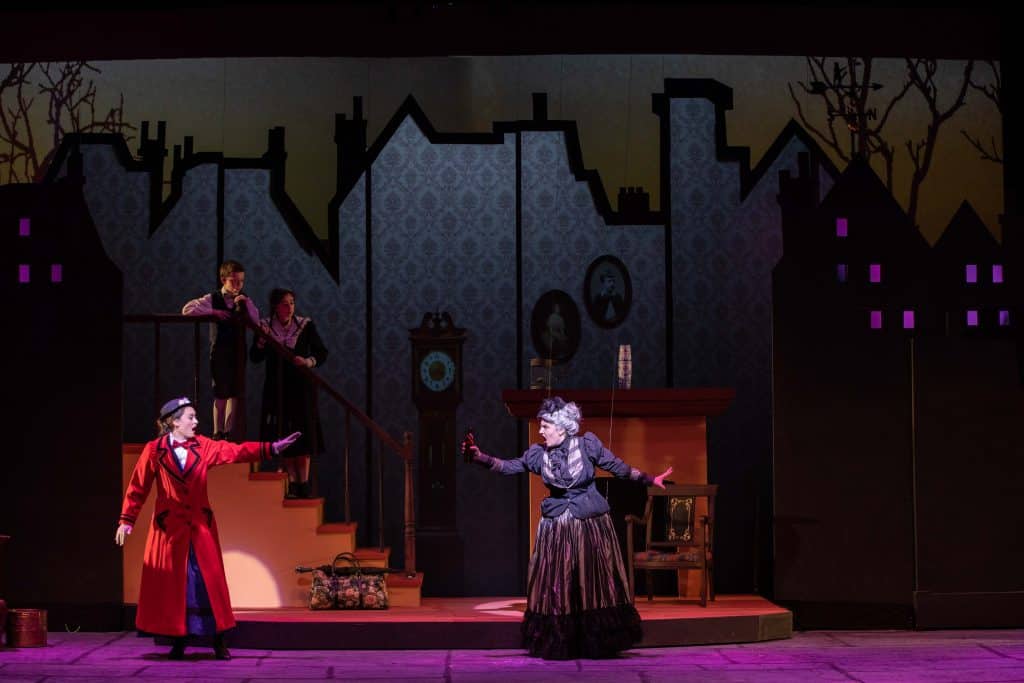
White-painted plywood screens allow you to get a little creative with the shape of the thing. In 2009 I worked on a fairly low-tech production of On the Town that we jazzed up quite a bit with some simple front-projections.
The set included 2D buildings in the wings, and a hard plywood backdrop that was painted to include both buildings and a big white center area for the projection surface. The projection surface was not cut out. We painted it black and white by tracing the projected image of the screen itself to make it look like this. The doors below are shown in yellow only to show you where they were. They were not visible unless they were opened.

On the Town was written to be produced with many painted backdrops. This is an ideal show for background projections. Projections provide the same function as painted drops, and they allow the stage to remain wide open for dance numbers. It was produced in a theatre space with no fly system. Having a back wall that became whatever we wanted served the structure of the musical perfectly.

The doors in the media lined up with the functioning doors on the set.
Pros and cons of flat, white, hard screens
PRO: White screens have no noticeable effect on the brightness of projections. You maintain your lumens really well.
PRO: Flat screens scatter light uniformly. Everyone can see the image pretty much the same way no matter if they are seated house-center or way off to the side. They have a very wide dispersal.
PRO: Front projection allows screens to be placed right up against walls, maximizing stage space.
CON: White screens catch any little bit of ambient light or spill light. White screens can challenge your ability to maintain good contrast between whites and blacks.
CON: Hard screens are front-projection only. Front projection can catch the actors and casts shadows. Shadows of actors are often not a big problem in projections – but sometimes they are. We see shadows of people on walls on stage all the time and think nothing of it. More commonly we might be bothered if we see projected textures or images on the body of an actor when that is not a part of our concept.
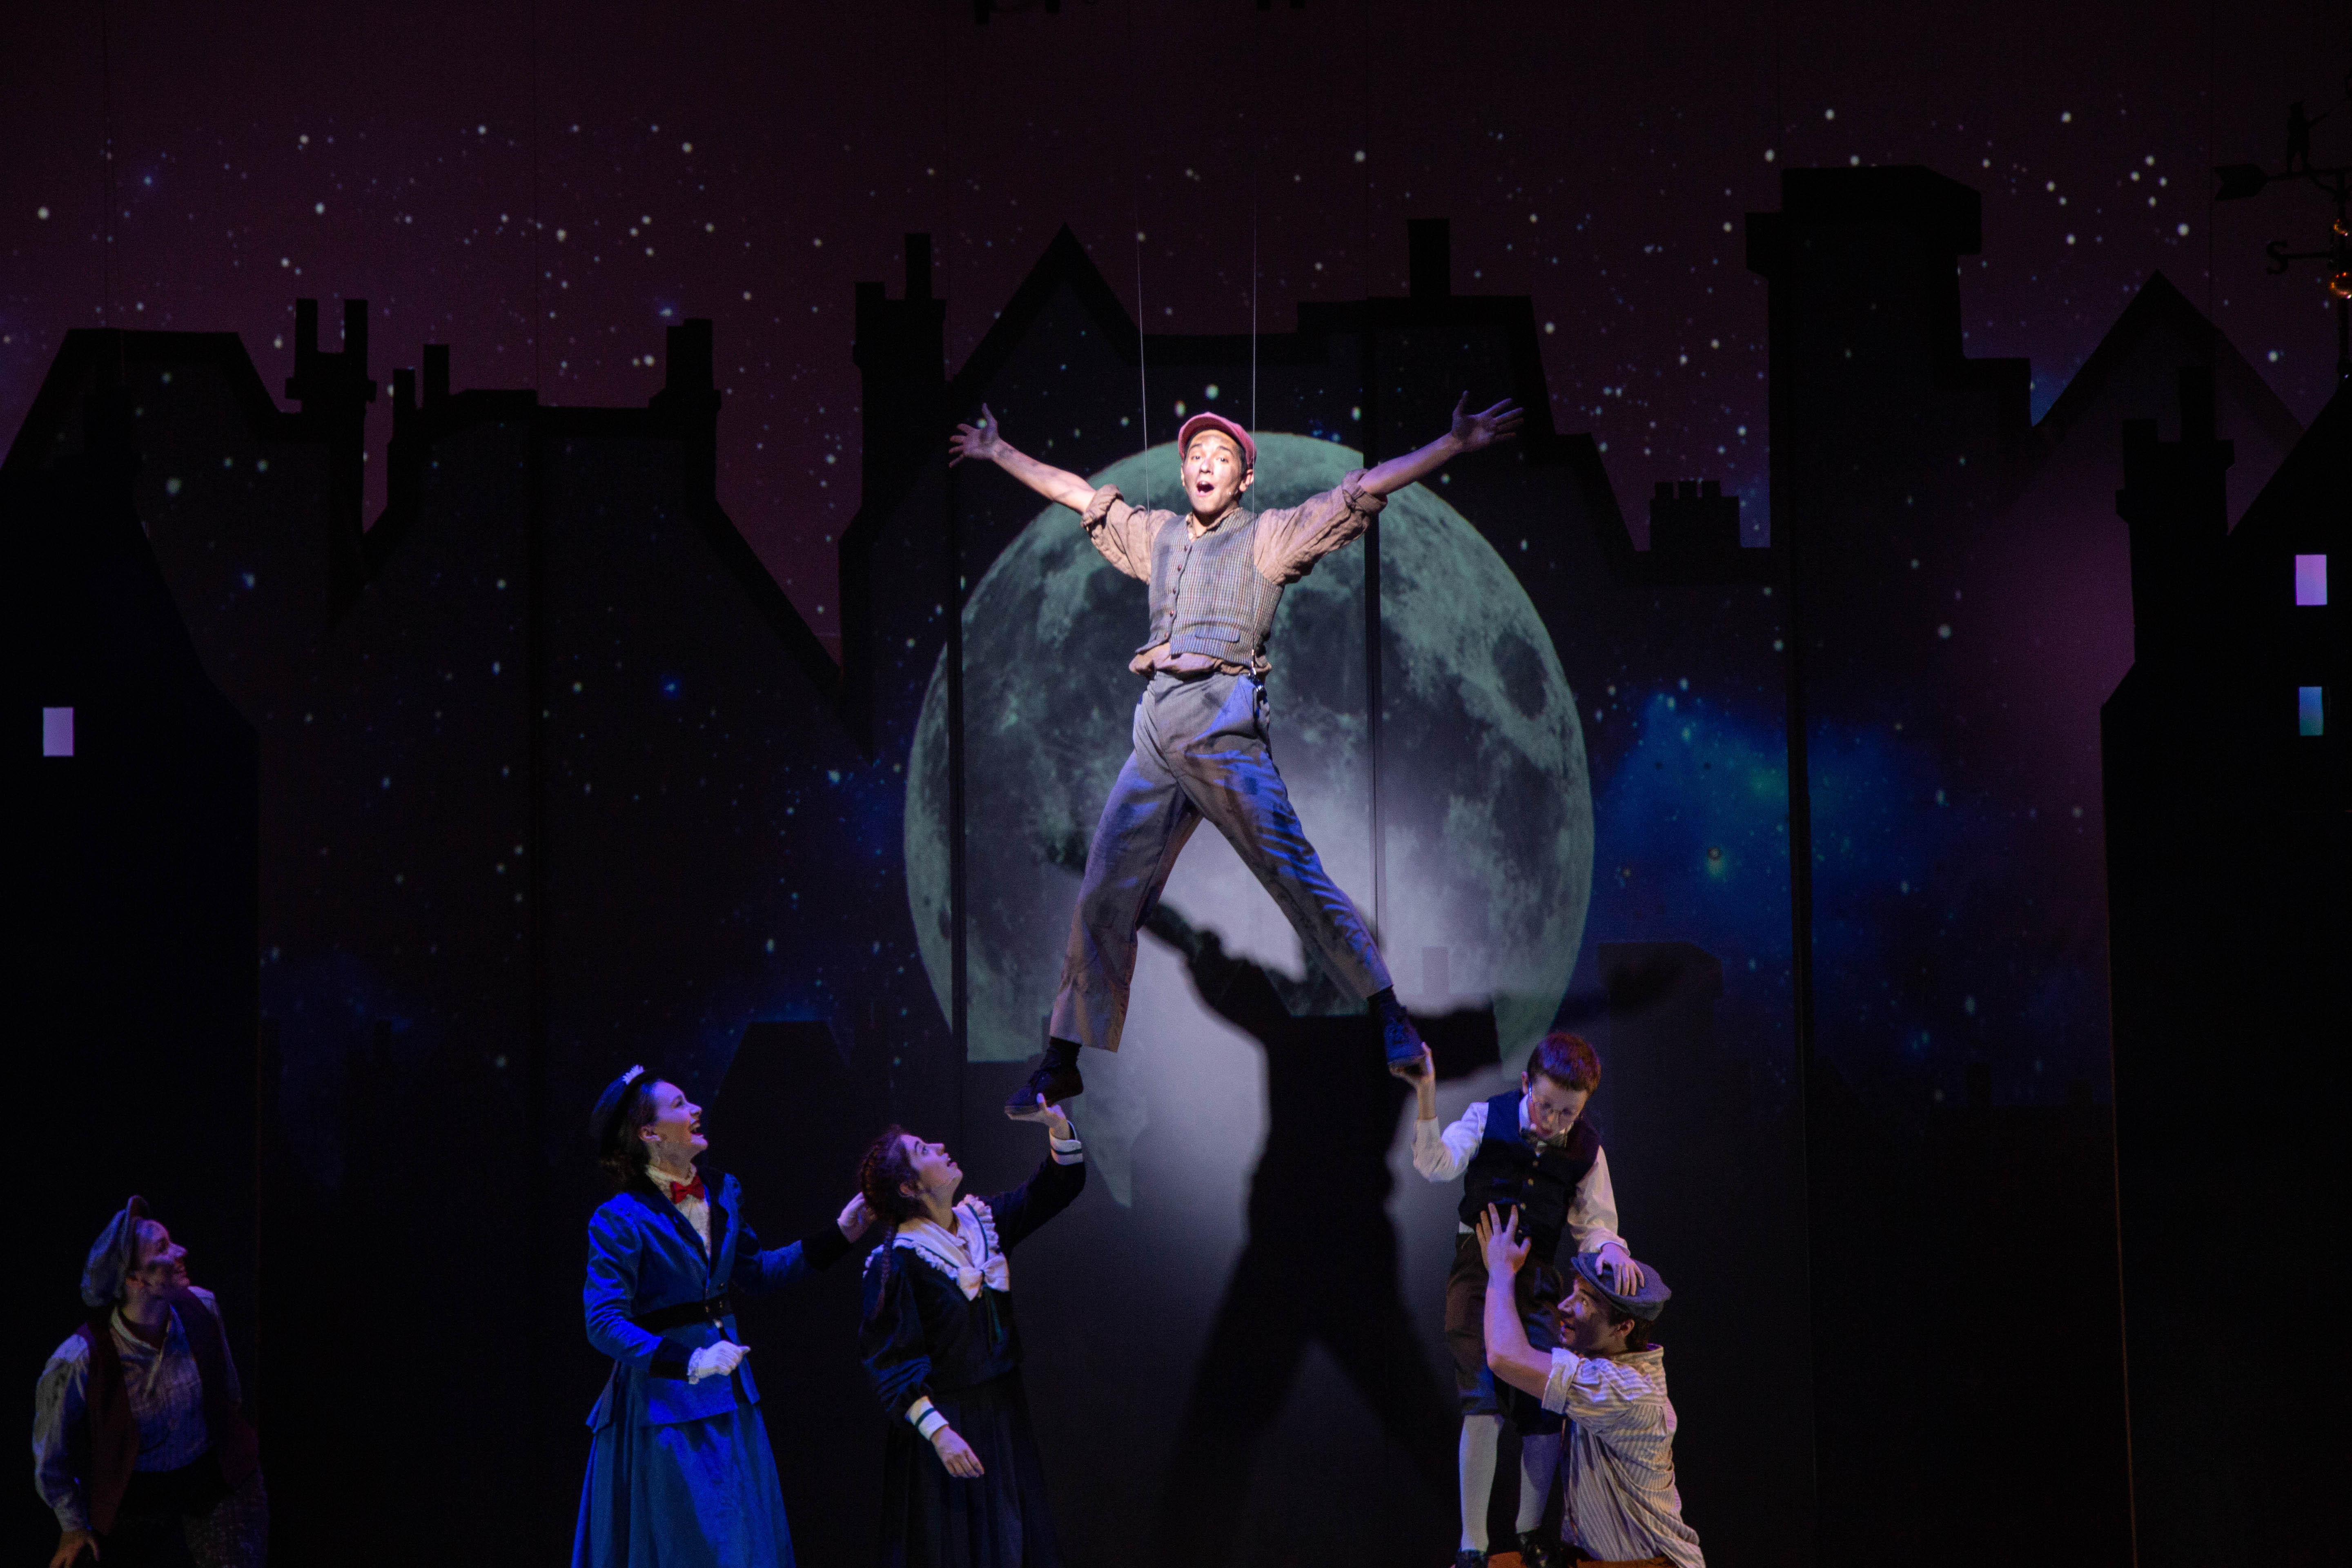
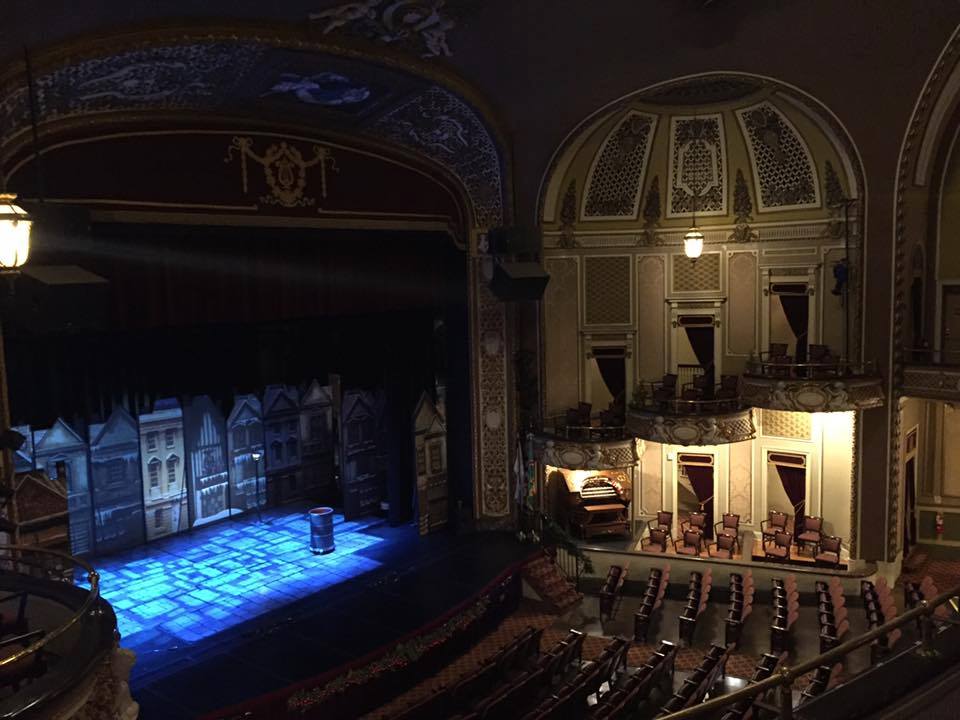
Rear-projection
Rear-projections on a screen that flew in and out throughout the show.
Rear-projection means putting the projector behind the screen, opposite the audience. You can do this using a fabric or linen screen, although that’s usually not ideal. If you use a fabric screen of some kind, especially if it is white, you will see the rear-projected image. Depending on the fabric, you will lose some brightness, and the image might project on through to other surfances.
The biggest drawback is that the audience members will usually be able to look right through the fabric and see the bright glowing lens of the projector behind the screen. The linen will be semi-transparent. It might carry the projected image, but it will also reveal bright glowing things backstage.
Rear-projection screen is a fairly inexpensive product that you can buy in various widths from theatrical supplies. 55″ wide is a pretty common width. It is usually available in white, ivory, gray, or black. It has a special property. It will carry a rear-projected image, but it obscures light sources. The audience will not be able to look through it and see the projector.
The mid-stage rear-projection screen allowed jack-knife wagons to rotate on and off stage.

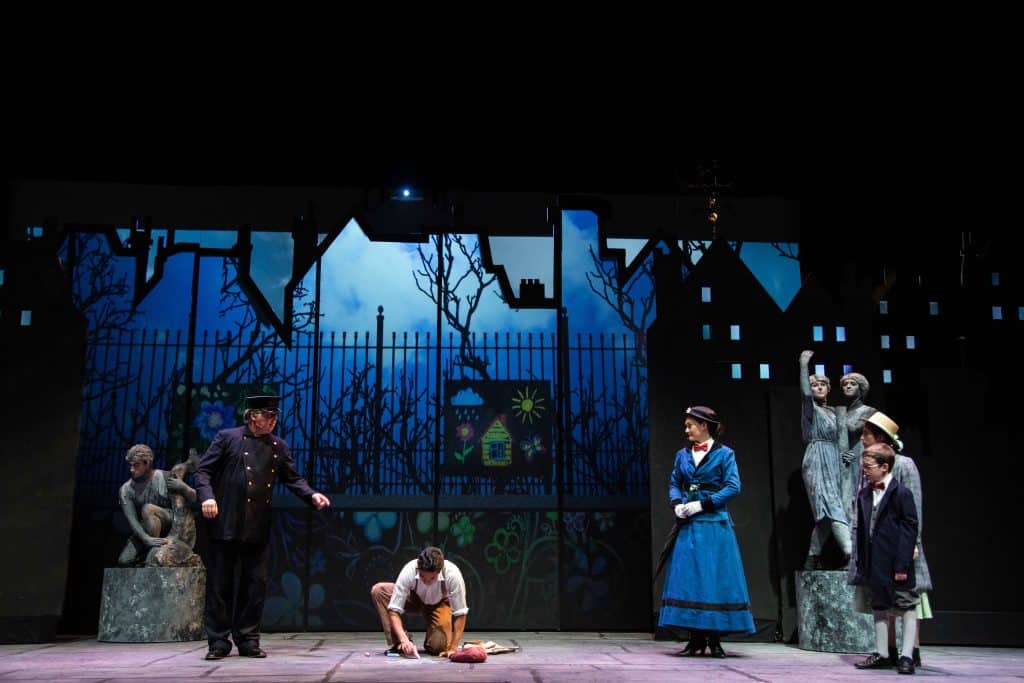
Rear-projections allow the performers to stand in front of the screen without being projected on themselves, and without casting shadows.
All of the same rules apply to rear-projection about protecting the image (see this earlier article in this series). Ambient light on the screen will ruin the image. Creating a buffer-zone between the screen and the rest of the set can often help a lot in protecting it. It can be difficult to light actors who stand too close to the screen without also spilling light onto the screen itself. Sidelight is helpful, and nothing beats good separation between the two.
You will lose some brightness when rear-projecting. A little more than half of the total light is reflected back towards the projector. Less than half goes through the screen. Any screen has its own photometric properties. Different screens reflect or transmit light in different degrees. Different screens will have varying levels of contrast. Different screens will also have different types of dispersal.
Dispersal and screen color
The image seen on a projection screen becomes dimmer when you stand off to the side to look at it. Some readers might recall that laptop computer screens once behaved this way. This effect varies in its intensity, depending on how dark the screen is. White screens allow the widest viewing angle. Black screens are the narrowest. Gray, predictably, lands in the middle. The exact behavior of the screen will vary depending on the manufacturer, and on the media being projected.
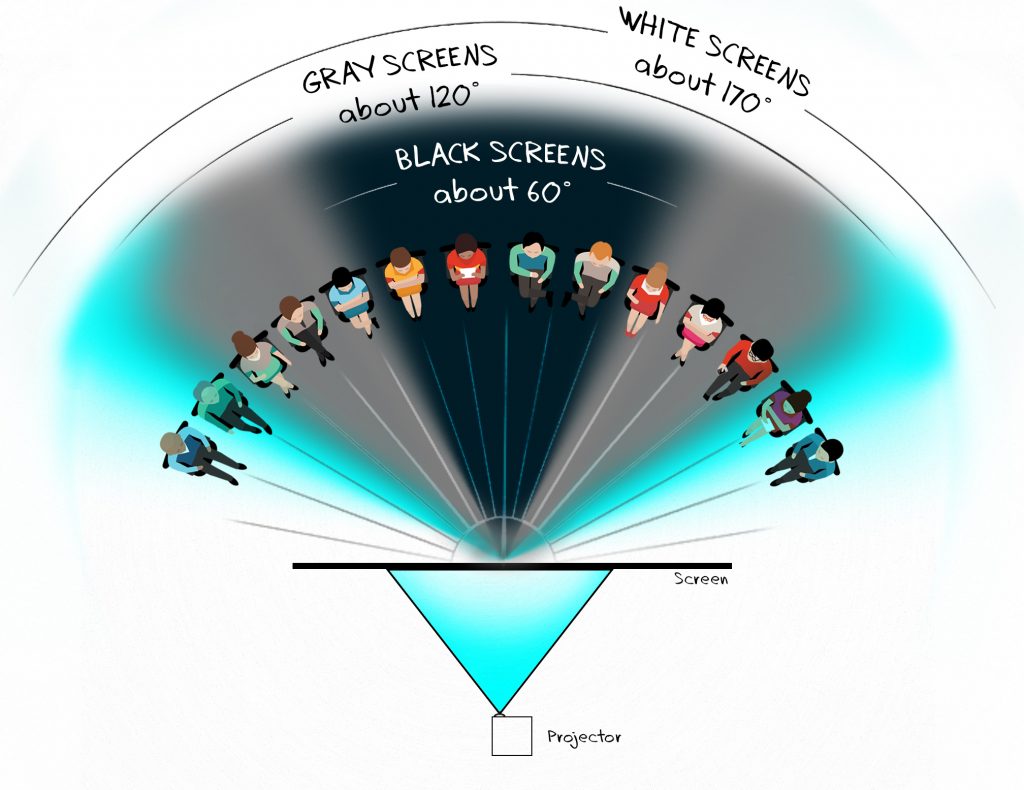
Rear-projection screens and projection screens from theatrical suppliers have preferred angles of viewing that correlate to their color.
You get a similar dispersal effect with front-projection surfaces. This is true even with screens that you paint yourself. The shinier the finish is, the more narrow the viewing field becomes. Flat-finish screens have the widest field of viewing. Shiny screens have narrow viewing angles.
Black screens
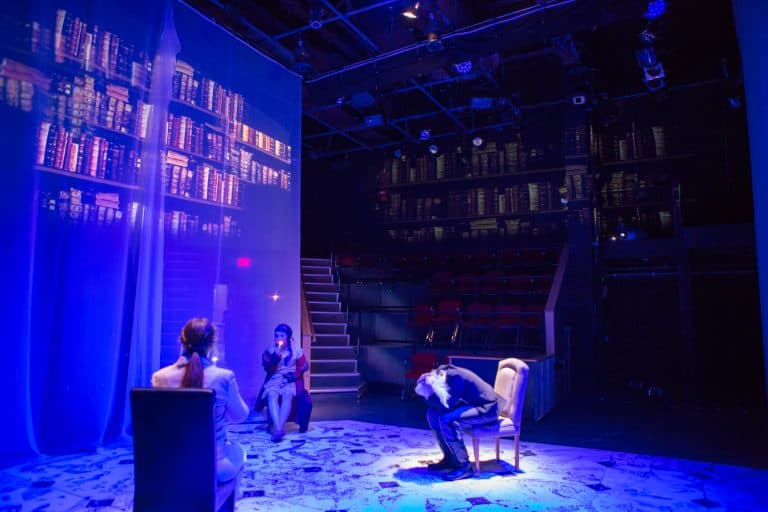
Black screens transmit the least amount of light. They might transmit as little as four percent. This might sound like a catastrophe, but just looking at projections on a black screen you might never suspect that they are that dim. This is because they make up for their poor gain in their outstanding contrast. The contrast ratio of a black rear-projection screen is stellar. They also are much more resistant to ambient light than white screens. This allows them to be used sometimes closer to actors. They also have the advantage of being black when they are not being used.

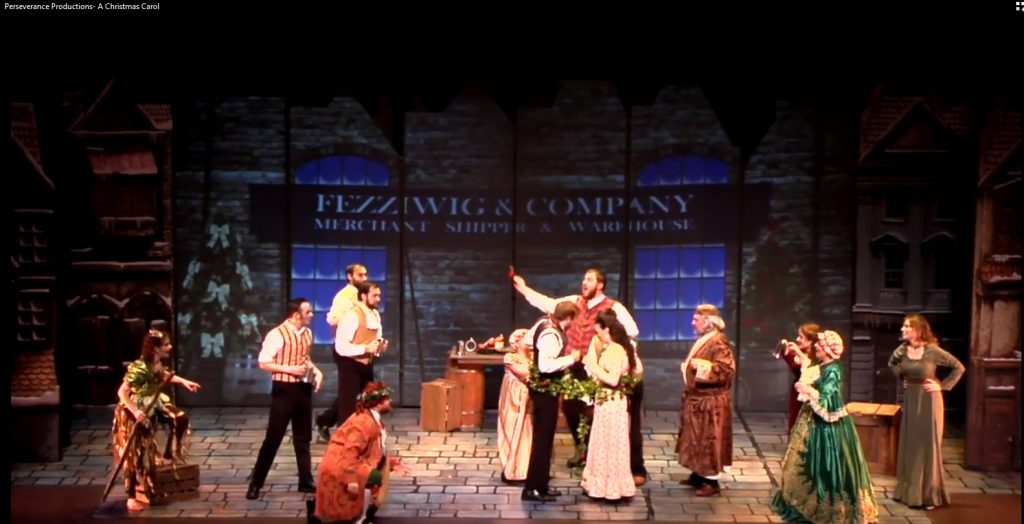
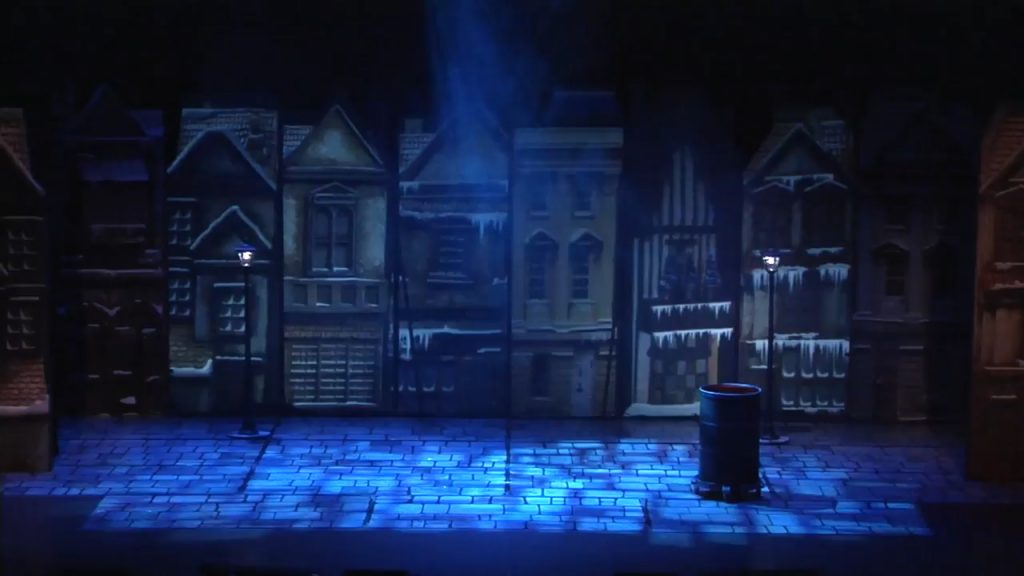
This touring production of A Christmas Carol has been running annually since 2014. It uses gray rear-projection screen panels combined with digitally printed flats and other scenery. It plays exclusively in proscenium theatre houses, so there is no risk that the audience will be seated too widely. The actors get very close to the screens. The gray is a good middle-ground between brightness of image, quality of contrast, and resistance to ambient light.
Pros and Cons of Rear-Projection
PRO: Actors can stand in front of it with no worries about blocking the images.
CON: Requires space backstage behind the screen. Sometimes this seriously reduces available playing space on the stage. Often requires an ultra-short-throw lens or fisheye lens to be successful.
CON: Projectors placed backstage are usually far from the operator. Extended runs of cable are usually necessary to get this kind of installation running well. Alternatively, the operator can be backstage, though this means that the operator probably cannot see the projections the way that the audience does.
Next:
Projections on Stage Part IV: Choices about Media
Related: More Information on the Theatre Program at Plymouth State University
 Random Item